
![]()
![]()
![]()
- Insert the CD-ROM supplied with the scanner into the CD-ROM Drive. If the CD auto-run then quit any startup program.
- Turn on the scanner .
- The following screens appears. (Windows XP with service
pack 2).
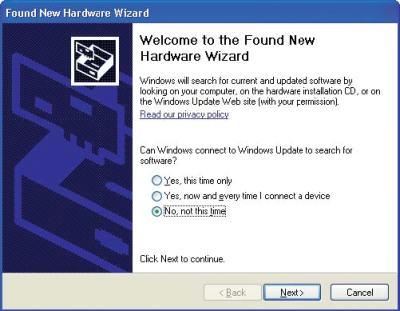
Select the option "No, not at this time" and click [Next] - Select the option" Search for the best driver in these
locations" and select the check box entitled "Include this
location in the search." Click [Browse] and select the
[DRIVER] folders in the CD-ROM drive or enter a CD-ROM drive
name and \English\DRIVER\SCANNER using the keyboard.
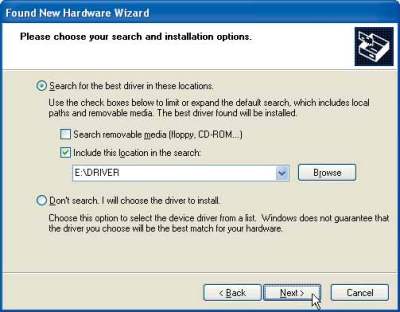
Click [Next] - The wizard will start searching for the scanner driver.
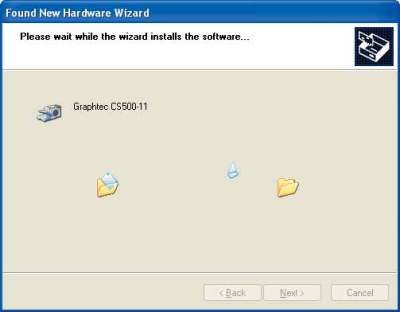
- Read the explanation and be sure that you understand the
contents. To continue the installation, click [Continue
Anyway]

- When the wizard has finish installation the driver.
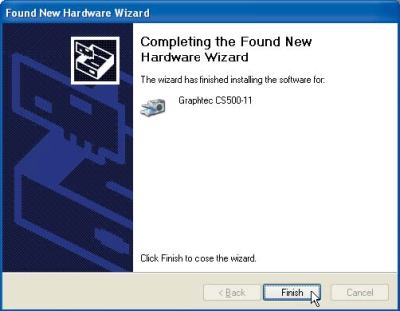
Click the [Finish] button to close the "Welcome to the Found New Hardware Wizard".
The Windows XP desktop appears and the scanner is recognized by the computer.
Checking the scanner is recognized by Windows
- Launch the Control Panel using the [Start] menu on the Windows desktop
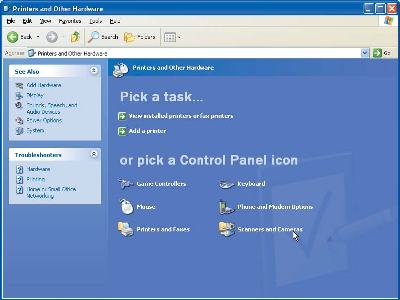
- The screen shown below is displayed when you click on
the "Printers and Other Hardware" icon.
- The Screen shown below is displayed when you click on
the "Scanners and Cameras" icon.
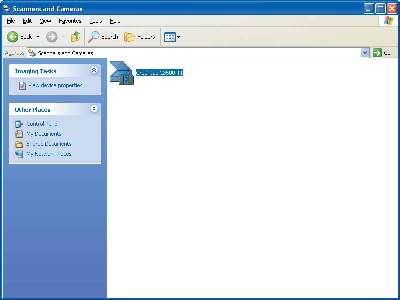
Check that "Graphtec CS500-11" or "CS500-11 PRO" is displayed here.